
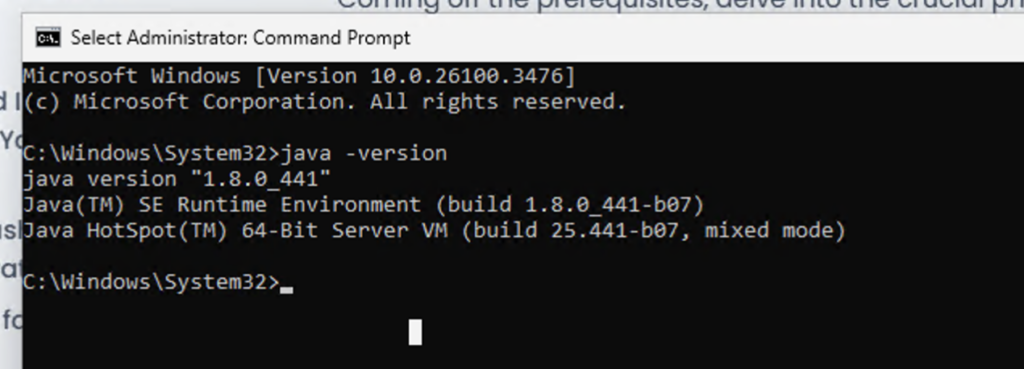
The setup of the Windows environment I’m using is a Windows 11 pro VM set up on Proxmox. Of course, Java remains a basic requirement for installing the stack, Java 8 to be more precise. If you’re not sure what version you’re using, use java -version in cmd or PowerShell .
Installing Elasticsearch
While you can install Elasticsearch on Windows using the .zip archive, this tutorial will focus on using the new .msi package and its installation wizard.
To get started, download the Elasticsearch v5.5.0 .msi package from:
https://artifacts.elastic.co/downloads/elasticsearch/elasticsearch-5.5.0.msi
Once the download is complete, open the .msi package to launch the installation wizard. Alternatively, you can install it via the CLI if preferred.

click Next to go with the default configurations and proceed.
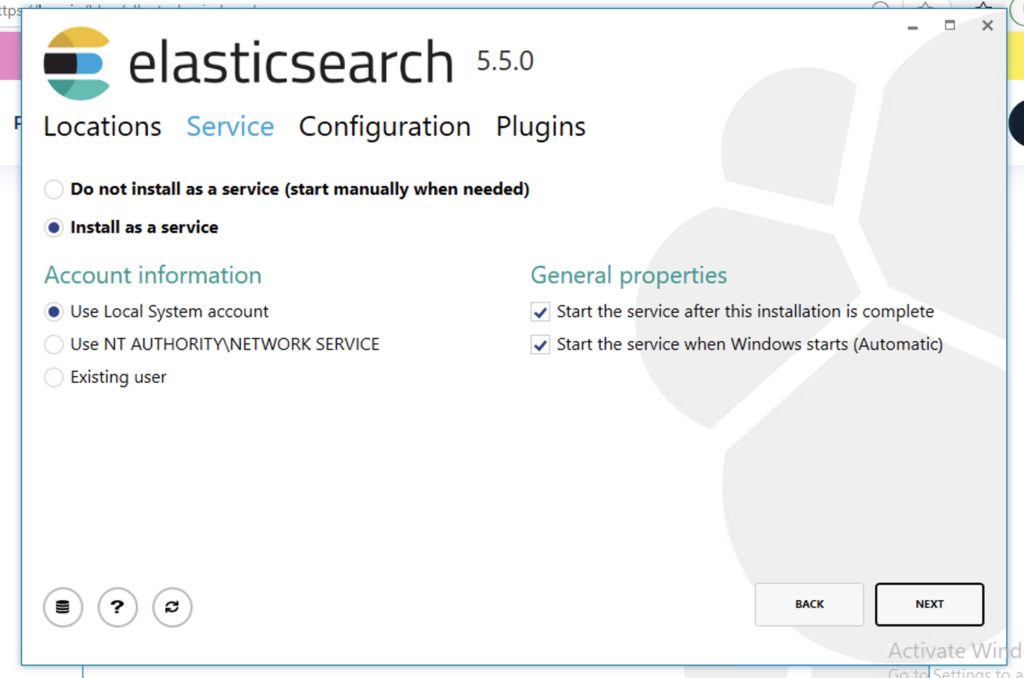
I choose to run with the default running settings, using the local Windows system account and starting the service once the installation is over and each time Windows is started.
The final step allows us to select which plugins to install (e.g. X-Pack or the Ingest GeoIP Processor). I choose to go for the default settings and hit the Install button to install Elasticsearch.
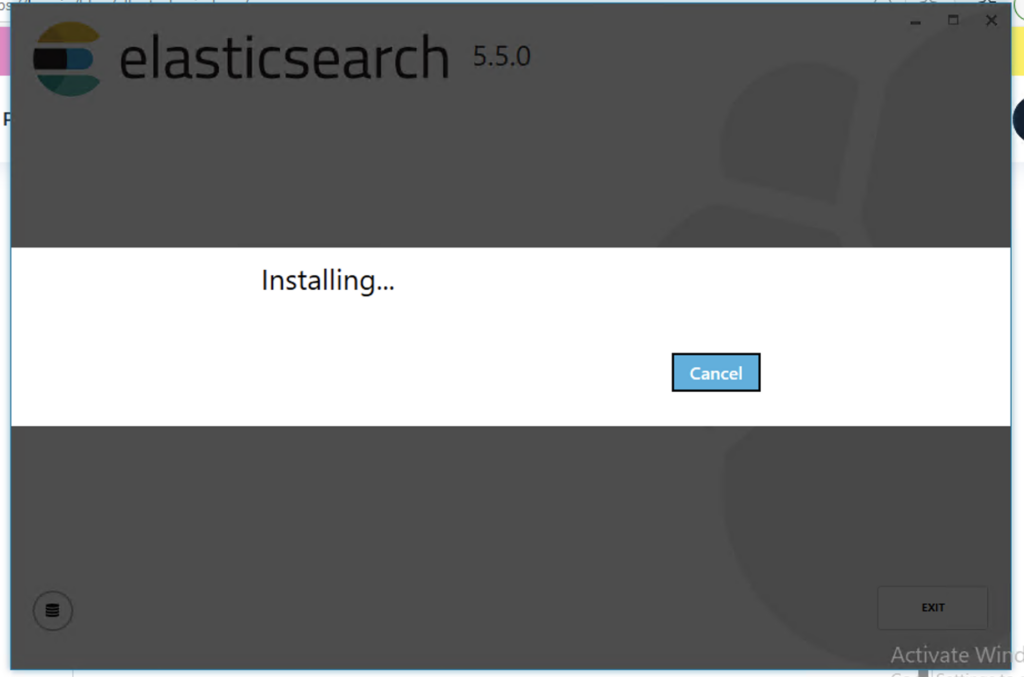
Elasticsearch is then installed as a service and started. You will see a success message at the end of the process.
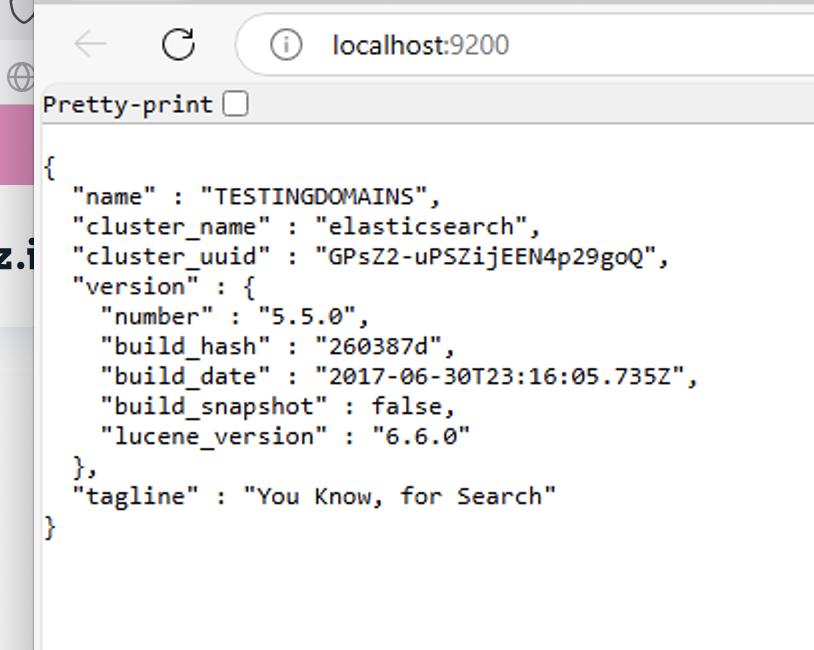
If you open your browser at http://127.0.0.1:9200, you should see the following output:
Installing Kibana
You can download the KIbana 5.5 .zip archive from: https://artifacts.elastic.co/downloads/kibana/kibana-5.5.0-windows-x86.zip
Extract the .zip file into a folder of your choice. Open Windows PowerShell, cd into the folder and start Kibana as follows:
C:\Users\testi\Downloads\kibana-5.5.0-windows-x86\kibana-5.5.0-windows-x86
.\bin\kibana
If all proceeds as expected, the command output will display only GREEN info messages with the last message reporting:
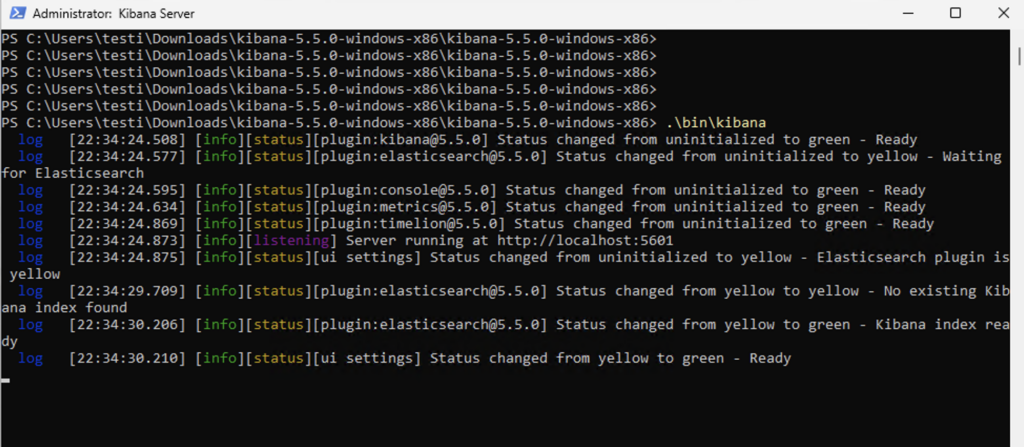
To verify, open Kibana in your browser at: http://127.0.0.1:5601.
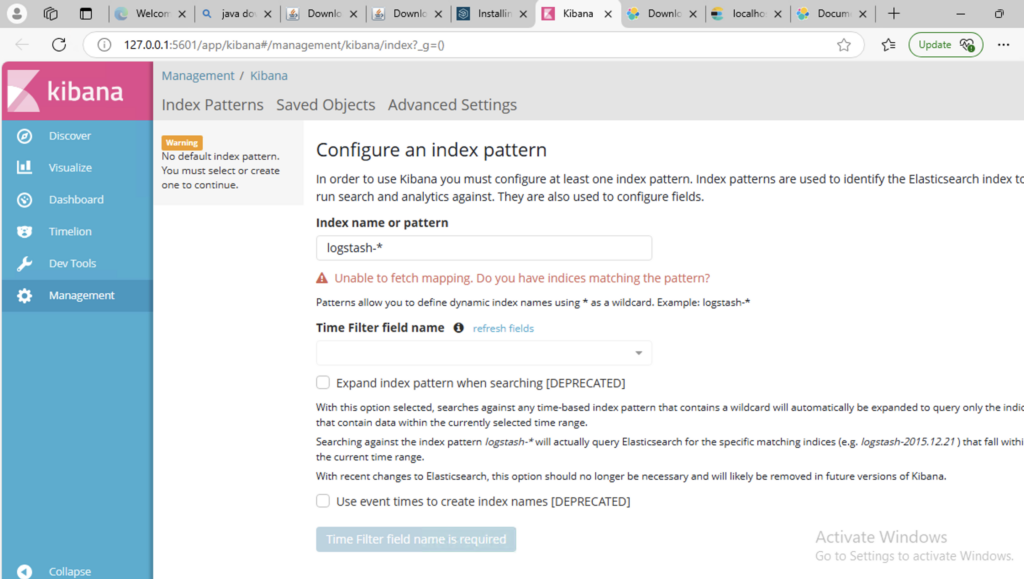
Kibana is now running!
Installing Filebeat
The process of installing log shippers is quite similar to the steps outlined earlier for Kibana, though it may differ depending on the specific log shipper you choose.
For instance, if you plan to analyze Windows event logs, you’d install and run Winlogbeat, a log shipper designed for Windows.
However, in this tutorial, we’ll focus on installing and running Filebeat as a Windows service.
You can download Filebeat from the official Downloads page:
https://www.elastic.co/downloads/beats/filebeat
After downloading, extract the .zip file to your ELK folder and rename the extracted directory to filebeat for easier access.
Next, open PowerShell, navigate to the Filebeat directory, and run the following command to install and run Filebeat as a service:
cd c:\Program Files (x86)\ELK\filebeat
.\install-service-filebeat.ps1
The script might fail in case script execution is disabled. If this is the case, use the following command to set the execution policy for the session:
PowerShell.exe -ExecutionPolicy UnRestricted
-File .\install-service-filebeat.ps1
Filebeat is now installed as a service, but it’s not running yet.
Before starting Filebeat, you need to configure the filebeat.yml file, located in the root directory of your Filebeat installation.
To customize the configuration, update the provided prospector settings to monitor Elasticsearch logs instead of Linux logs. Here’s how you can do it:
No Responses